
Guide to Buying Used DSLRs and Lenses

Due to the manufacturing complexities, research & development, and cost of production for lenses / sensors / DSLRs, these tools can have a huge markup! Many opt to buy new, but when done carefully, buying used camera gear can be a wonderful way to save money while pursuing your dreams or hobbies as a photographer / videographer.
Here to share a few pointers on the subject is portrait photographer Rohan Rath who recently disclosed that all of his gear is in fact previously owned, used, & 2nd hand equipment. Based between Bangalore and Mumbai, Rohan uses exculsively used camera gear to pursue his profession as a photographer and connect with the creative community around him.
While Rohan provided a bullet point outline on the topic, the writers at Framework FIlms have elaborated each bullet point and provided additional details on the topic!
**Please note that this guide is only for DSLRs and Lenses. Rohan does not provide tips on buying used mirrorless cameras. **

Rohan Rath's portrait with Vaishnavi Andhale
Top 10 Tips For Buying Used Lenses- Look Out!
1 - Physical Condition
Inspect the lens for physical scratches, dents, rust, corrosion, or any other signs of serious wear and tear!
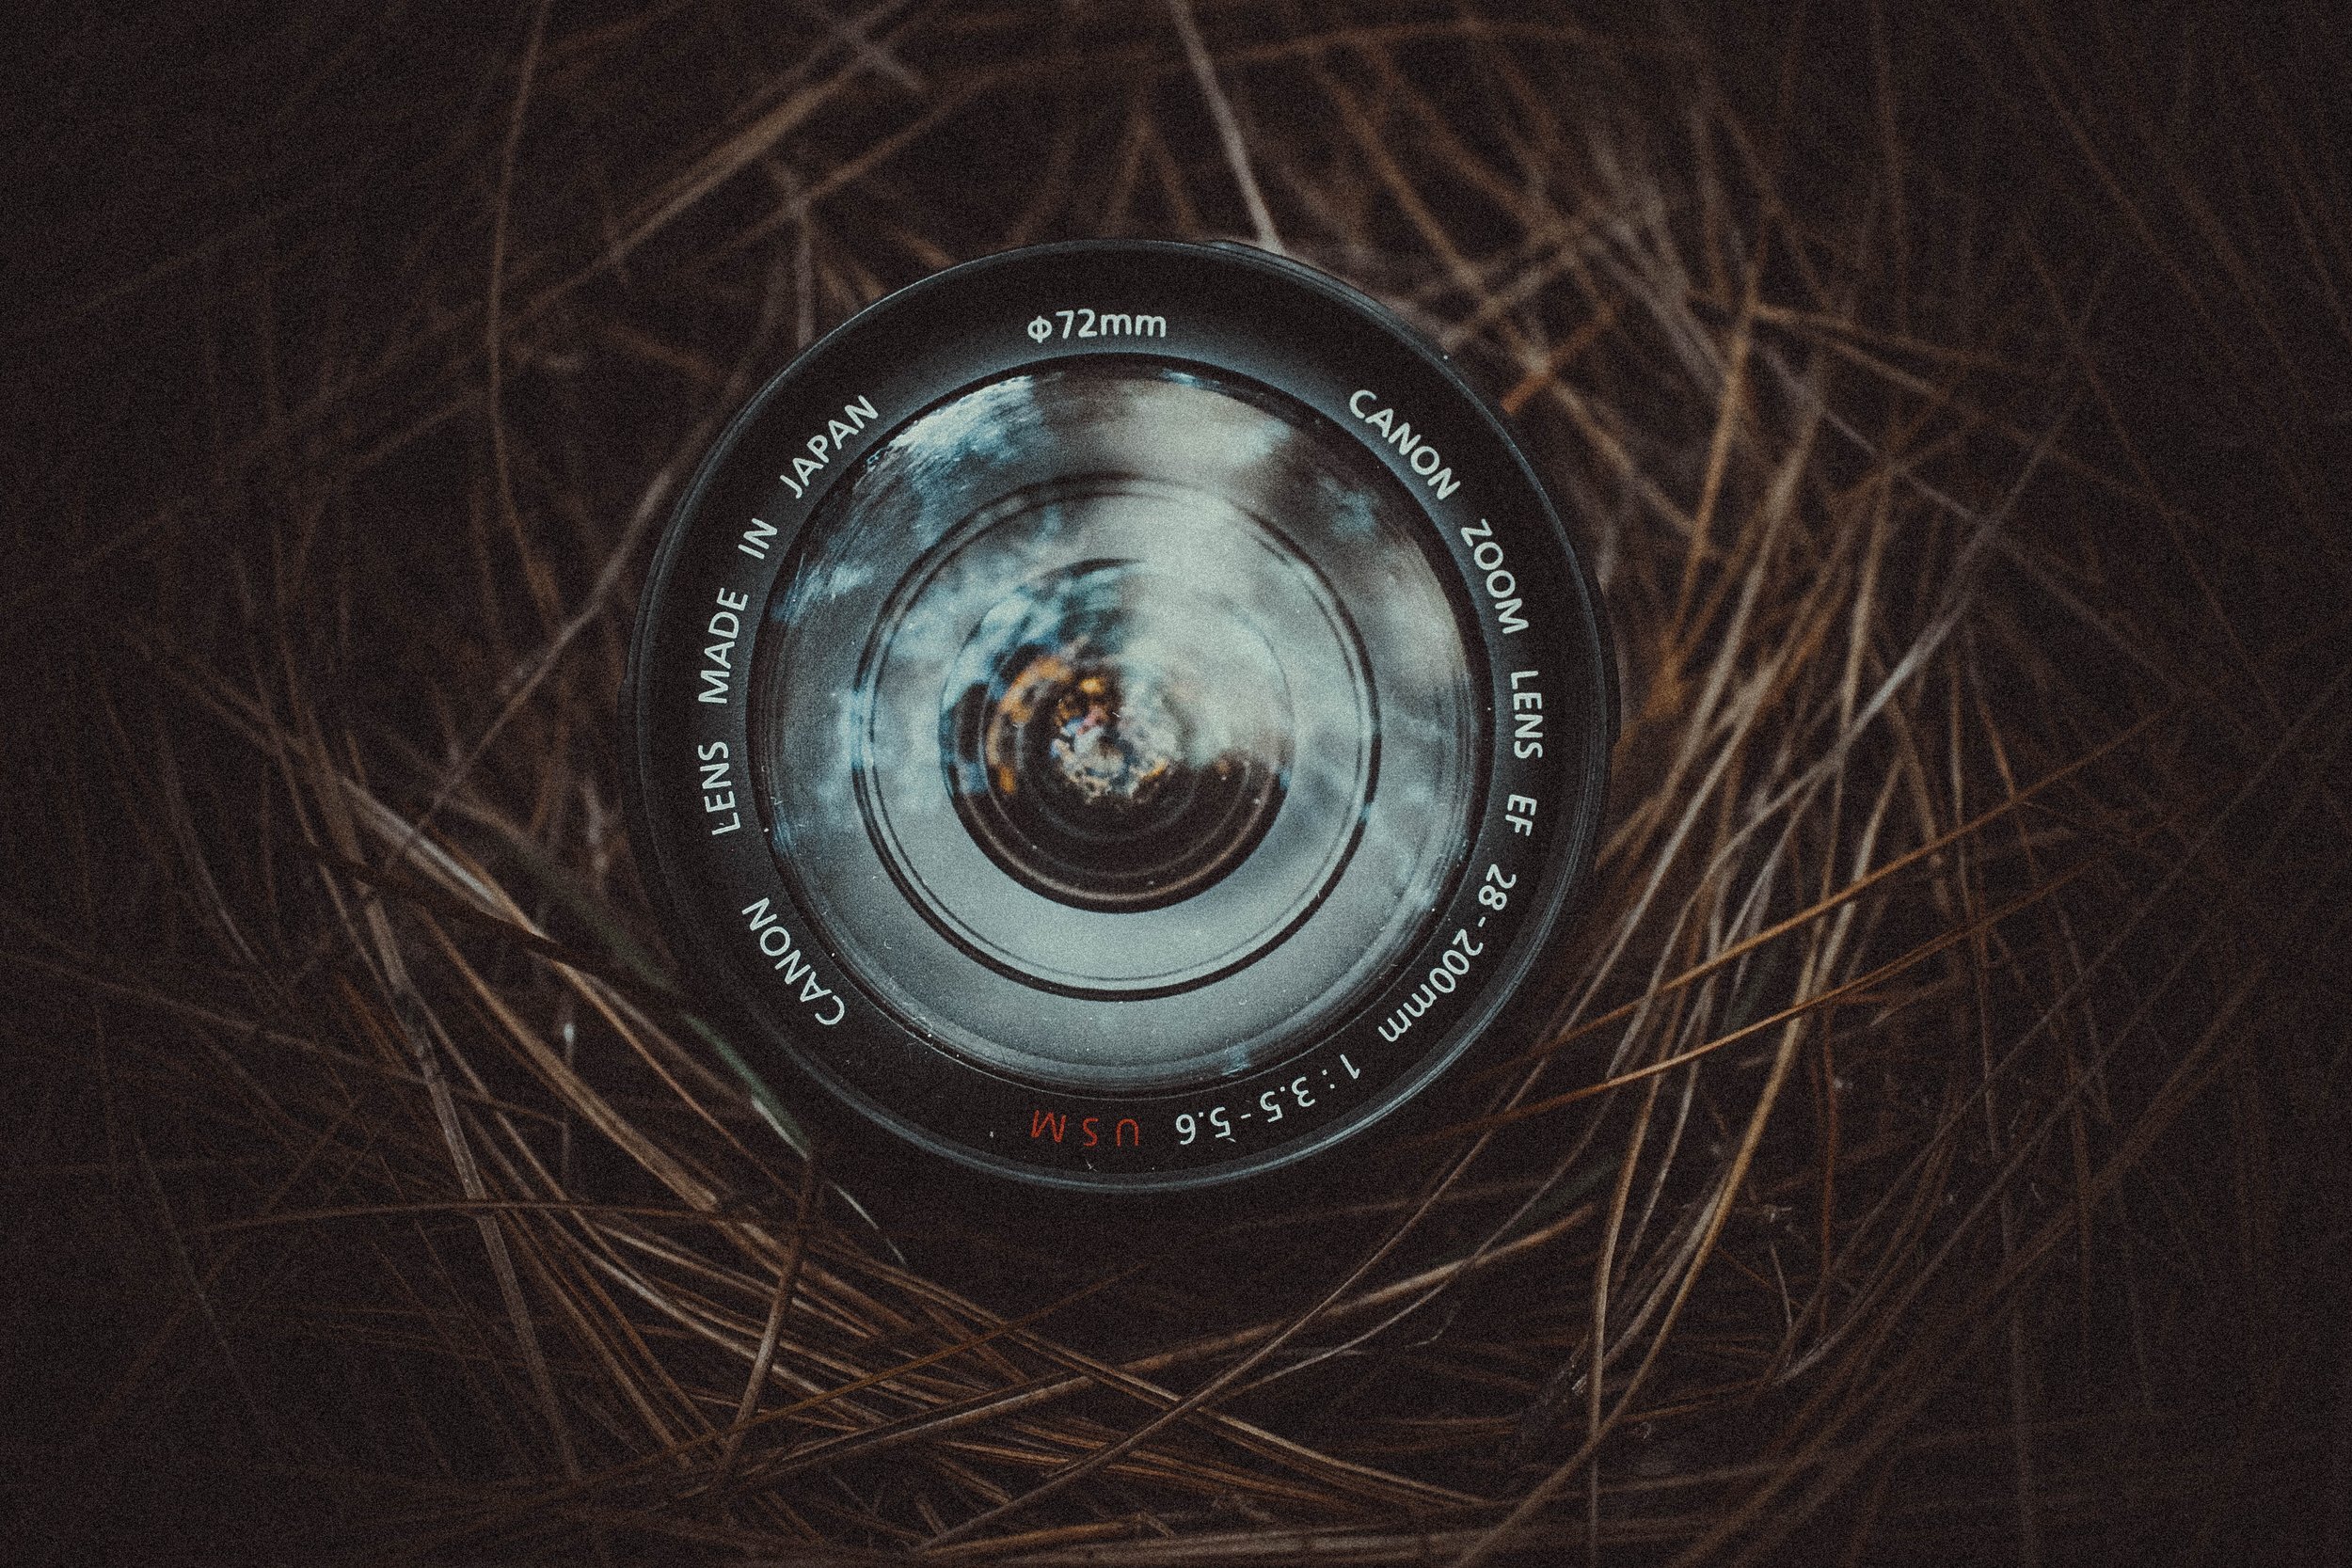
2 - Eyeball Both Glass Elements
Be on the lookout for dust, scratches, hazing, and fungus on either the front or back glass elements. Bring a rocket blower to easily attempt to blow away loose dust. If the glass doesn't look clean, keep in mind in many instances it can be cleaned. As the buyer that shouldn't be your responsibility.
3 - Brassing Lens Mount
Keep in mind that this does not effect the quality of the glass but the use of the lens. Brassing occurs when the underlying brass under the paint or chrome plating on the lens mount wears away. It exposes the brass ring and can be an indicator of heavy use.

4 - Fidelity of Lens Pins & Contacts
Auto focus lenses have small pins that connect to exchange a small electrical current with the DSLR's contacts in the mount. This exchange allows the lens and camera to Auto Focus. Check the pins on the lens to ensure that they are not bent or missing. They should smooth and in place.
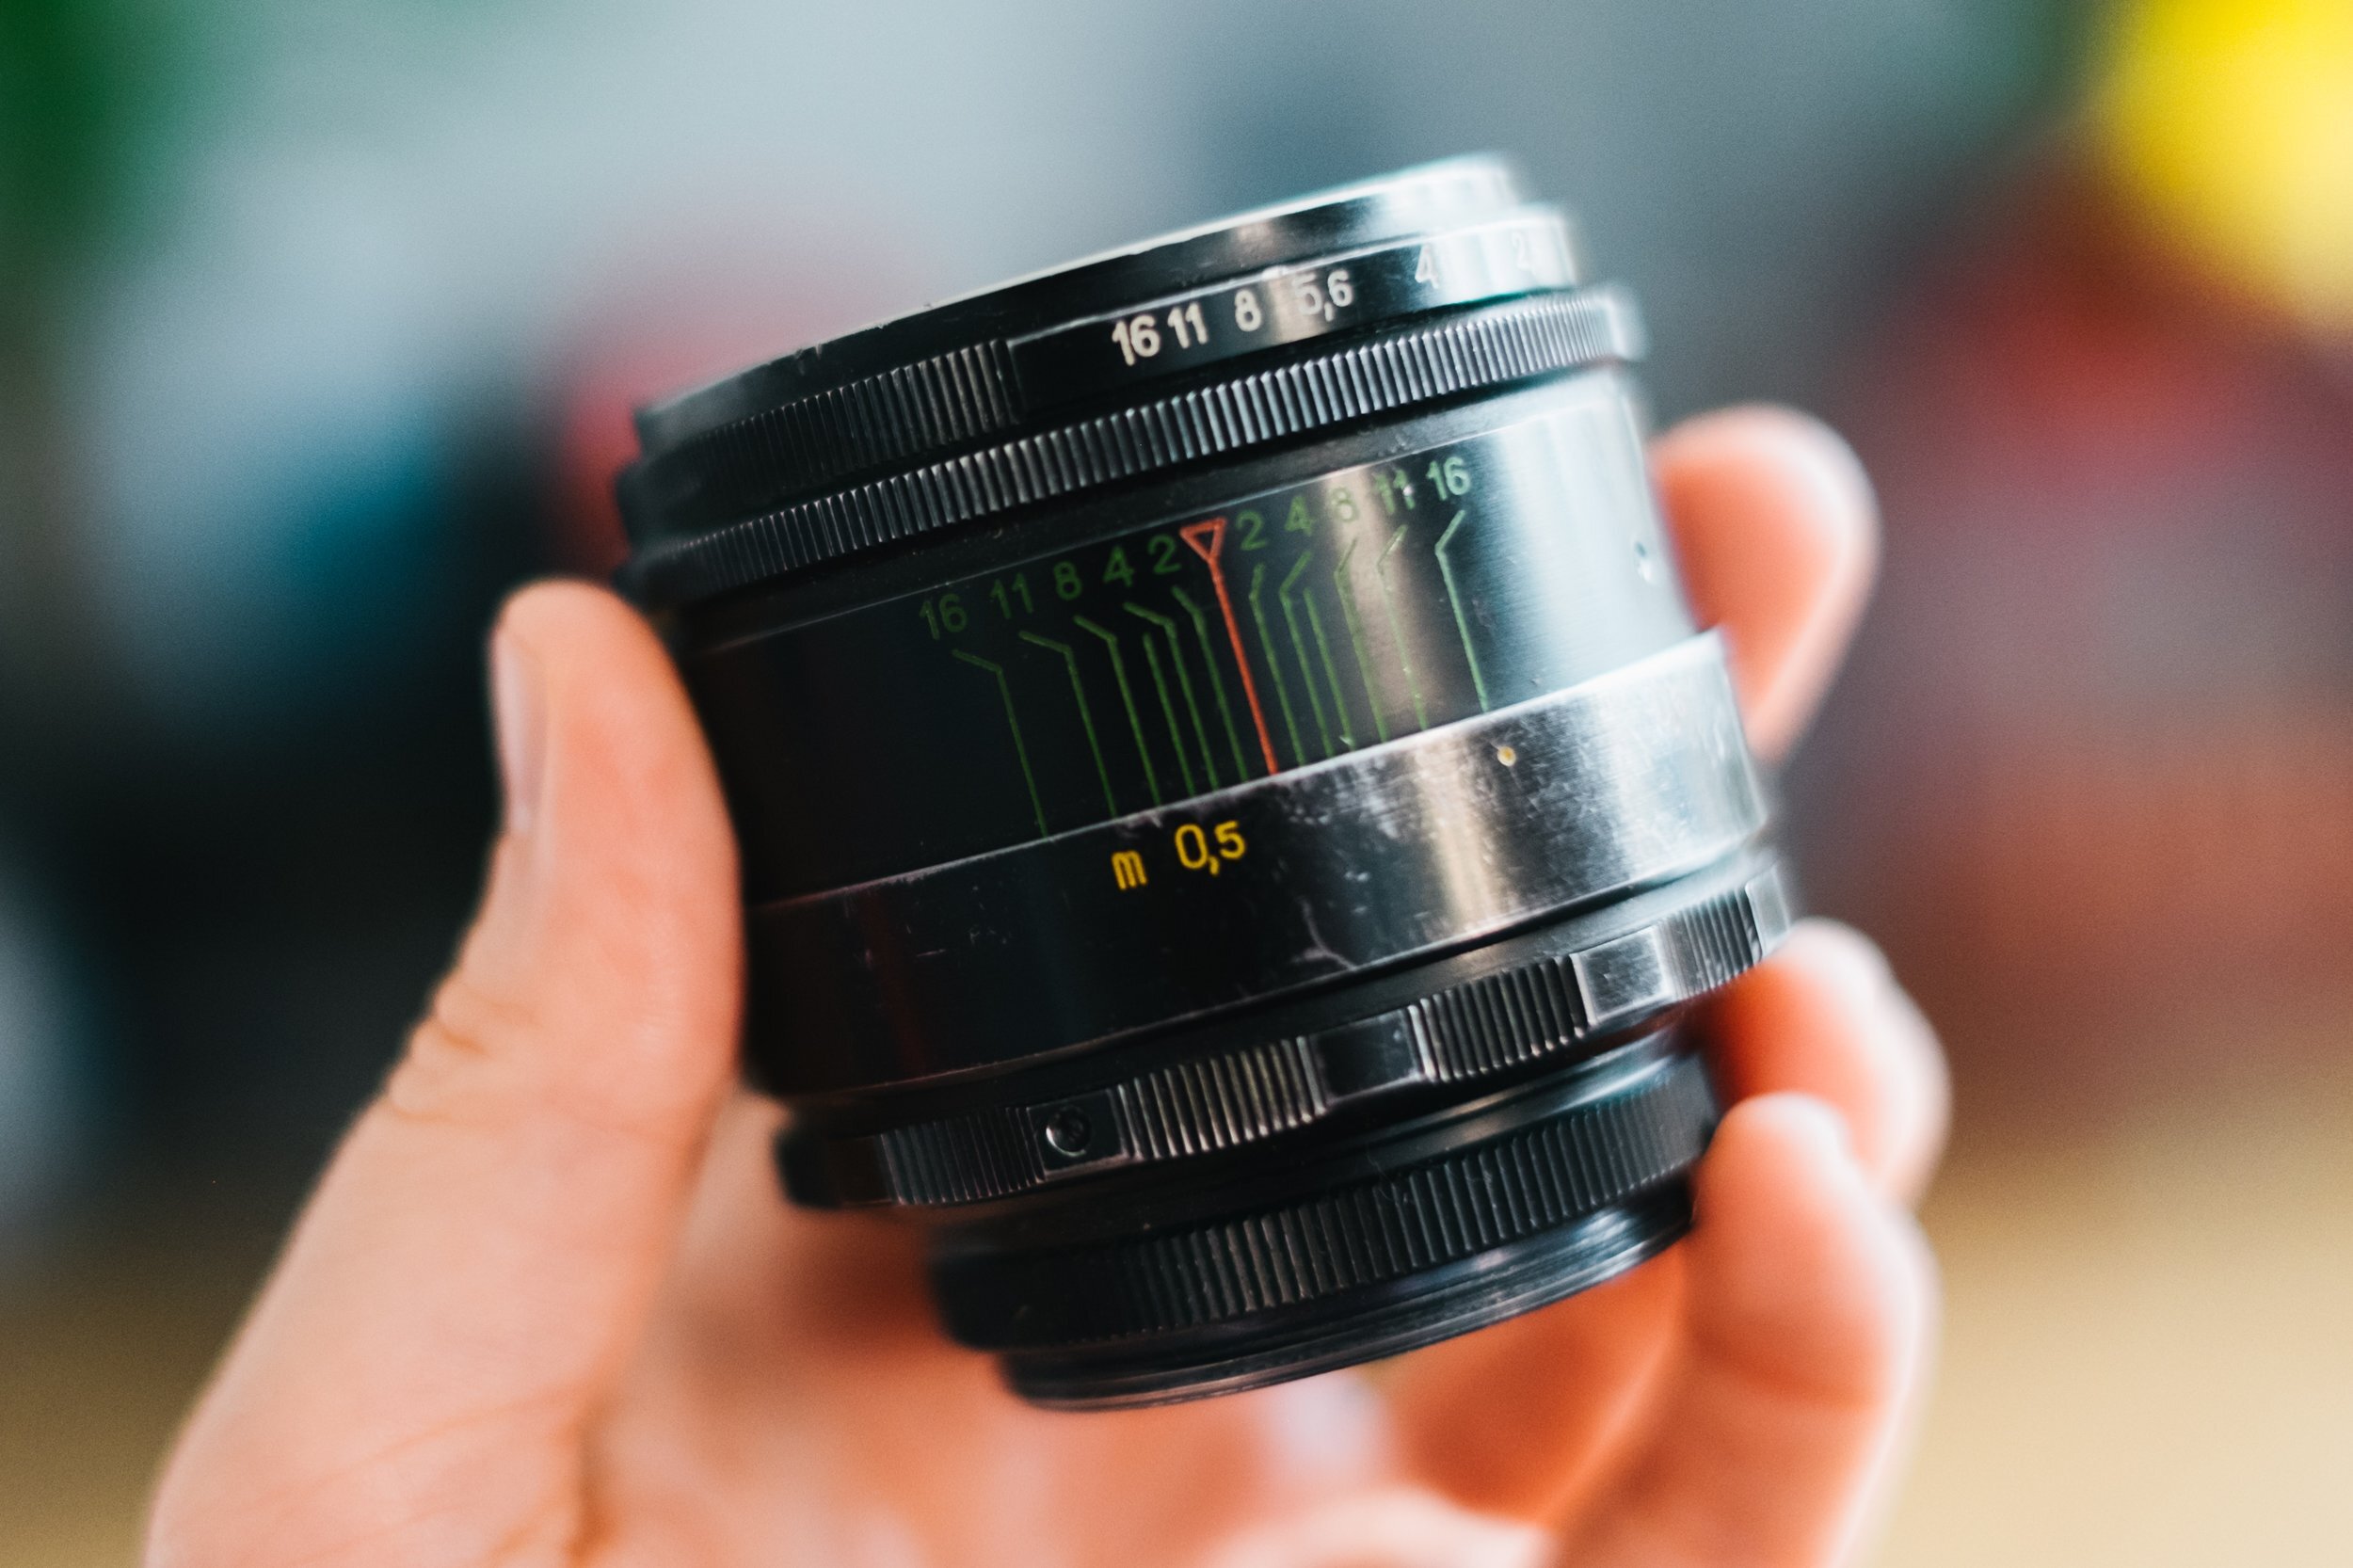
5 - Zoom, Focus, & Aperture Rings
Inspect all rotating rings on the Lens. Ensure that they move easily, smoothly, without friction or noise. Most common rings to find on a lens are the Zoom and Focus rings, but on vintage lenses you'll need to consider the aperture ring if applicable. You'll be able to stare directly into the glass element of the lens and watch the aperture blades adjust as you move the ring.
6 - Inspect Weather Seal
If applicable - inspect the lens for its weather-seal. You can usually see this as a rubber gasket or rubberized ring along the interior of the back element.
7 - Mount Lens, Auto-focus, & Adjust Aperture
Make sure to mount the lens onto your camera to ensure it fits without issue. Sometimes rust or debris and get in the way of your contacts on the DSLR. Make sure to test the Auto-Focus & Aperture controls to ensure both elements are operational.

8 - Filter Thread
If the filter thread on the lens is even slightly damaged, it may be very difficult to screw on UV Filters, ND filters, or any other filters you may want to use with your lens. Seriously reconsider the purchase if you plan to use any types of filters or screw on mounts.
9 - Shake Test
Do a mild shake test to check if something sounds loose or broken. If you hear a rattling, you may want to reconsider.
10 - Fungus and Folic Hazing Test
Perform the fungus and scratch test again. This time, take a photo against a solid black and solid white surface. Inspect the images to ensure that the lens is not creating specs, distortion, hazing, or scratches in the solid color image.
Top 15 Tips For Buying Used DSLRs- Look Out!
1 - Physical Condition
Physically inspect the outside of the camera and make sure there are no dents, scratches, rust, corrosion, water damage, or any other serious signs of wear & tear.
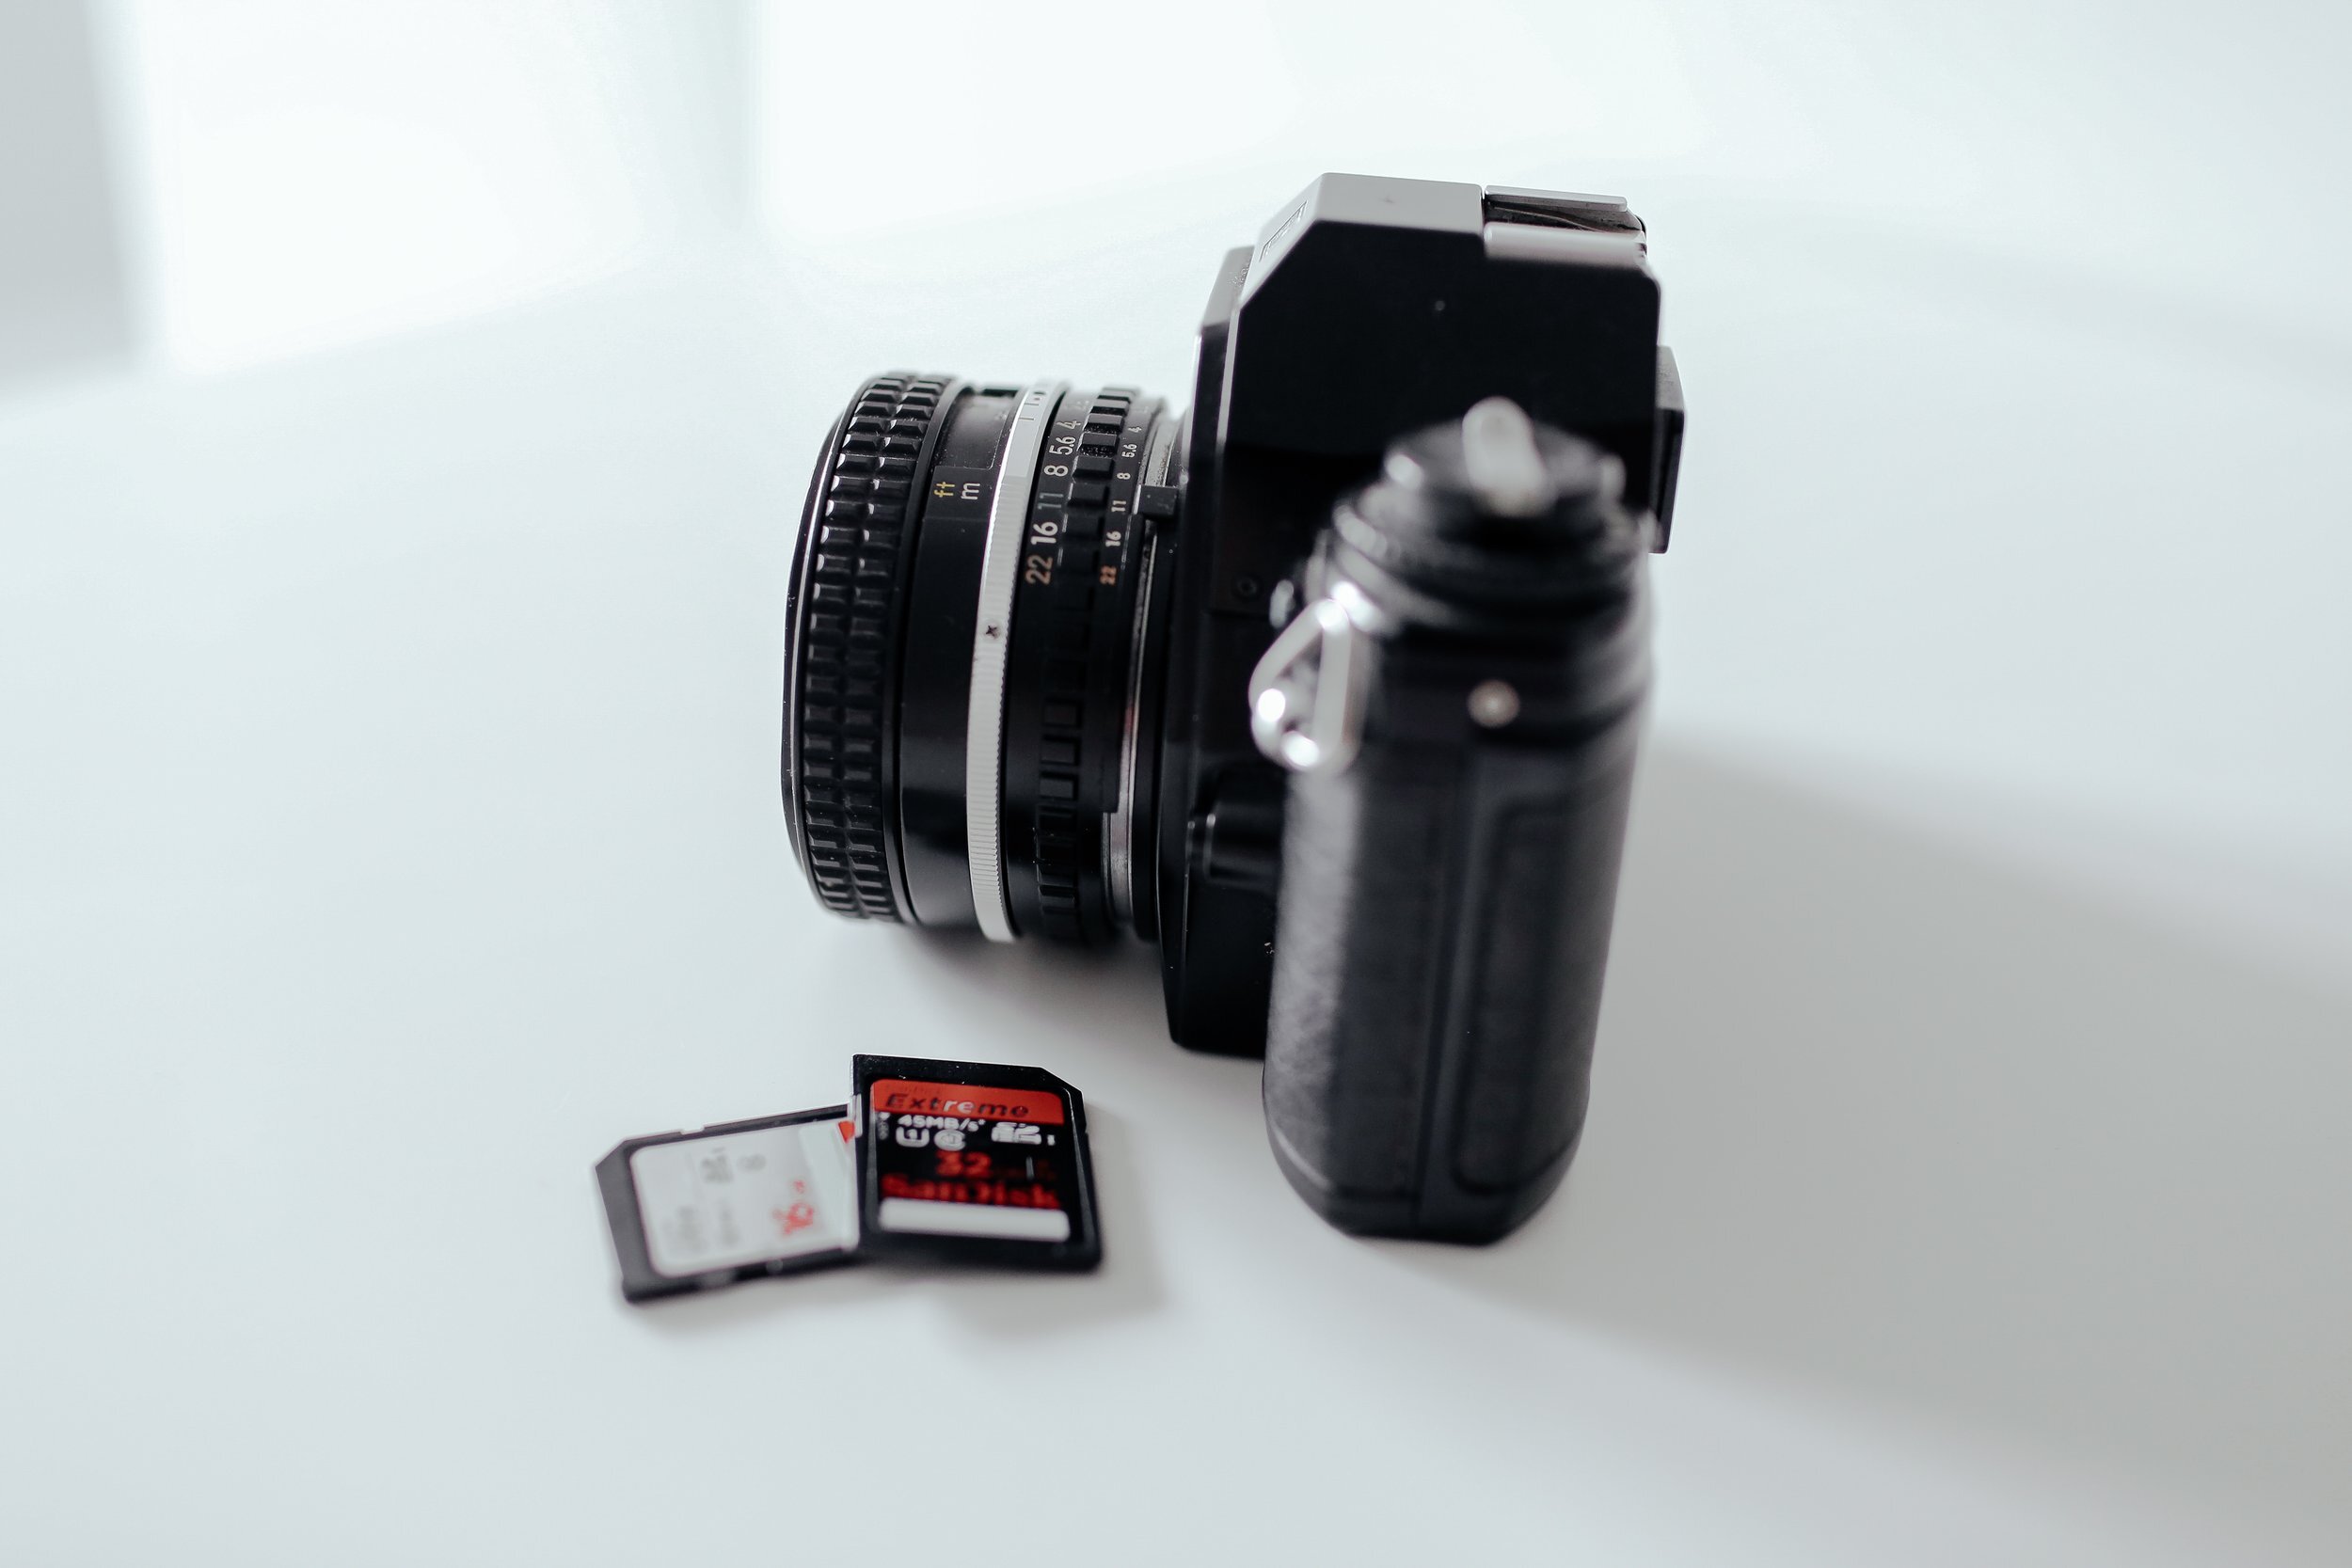
2 - Memory Card Slot
Insert a memory card or two and make sure the camera writes images properly to your cards. Take a few test shots and review.
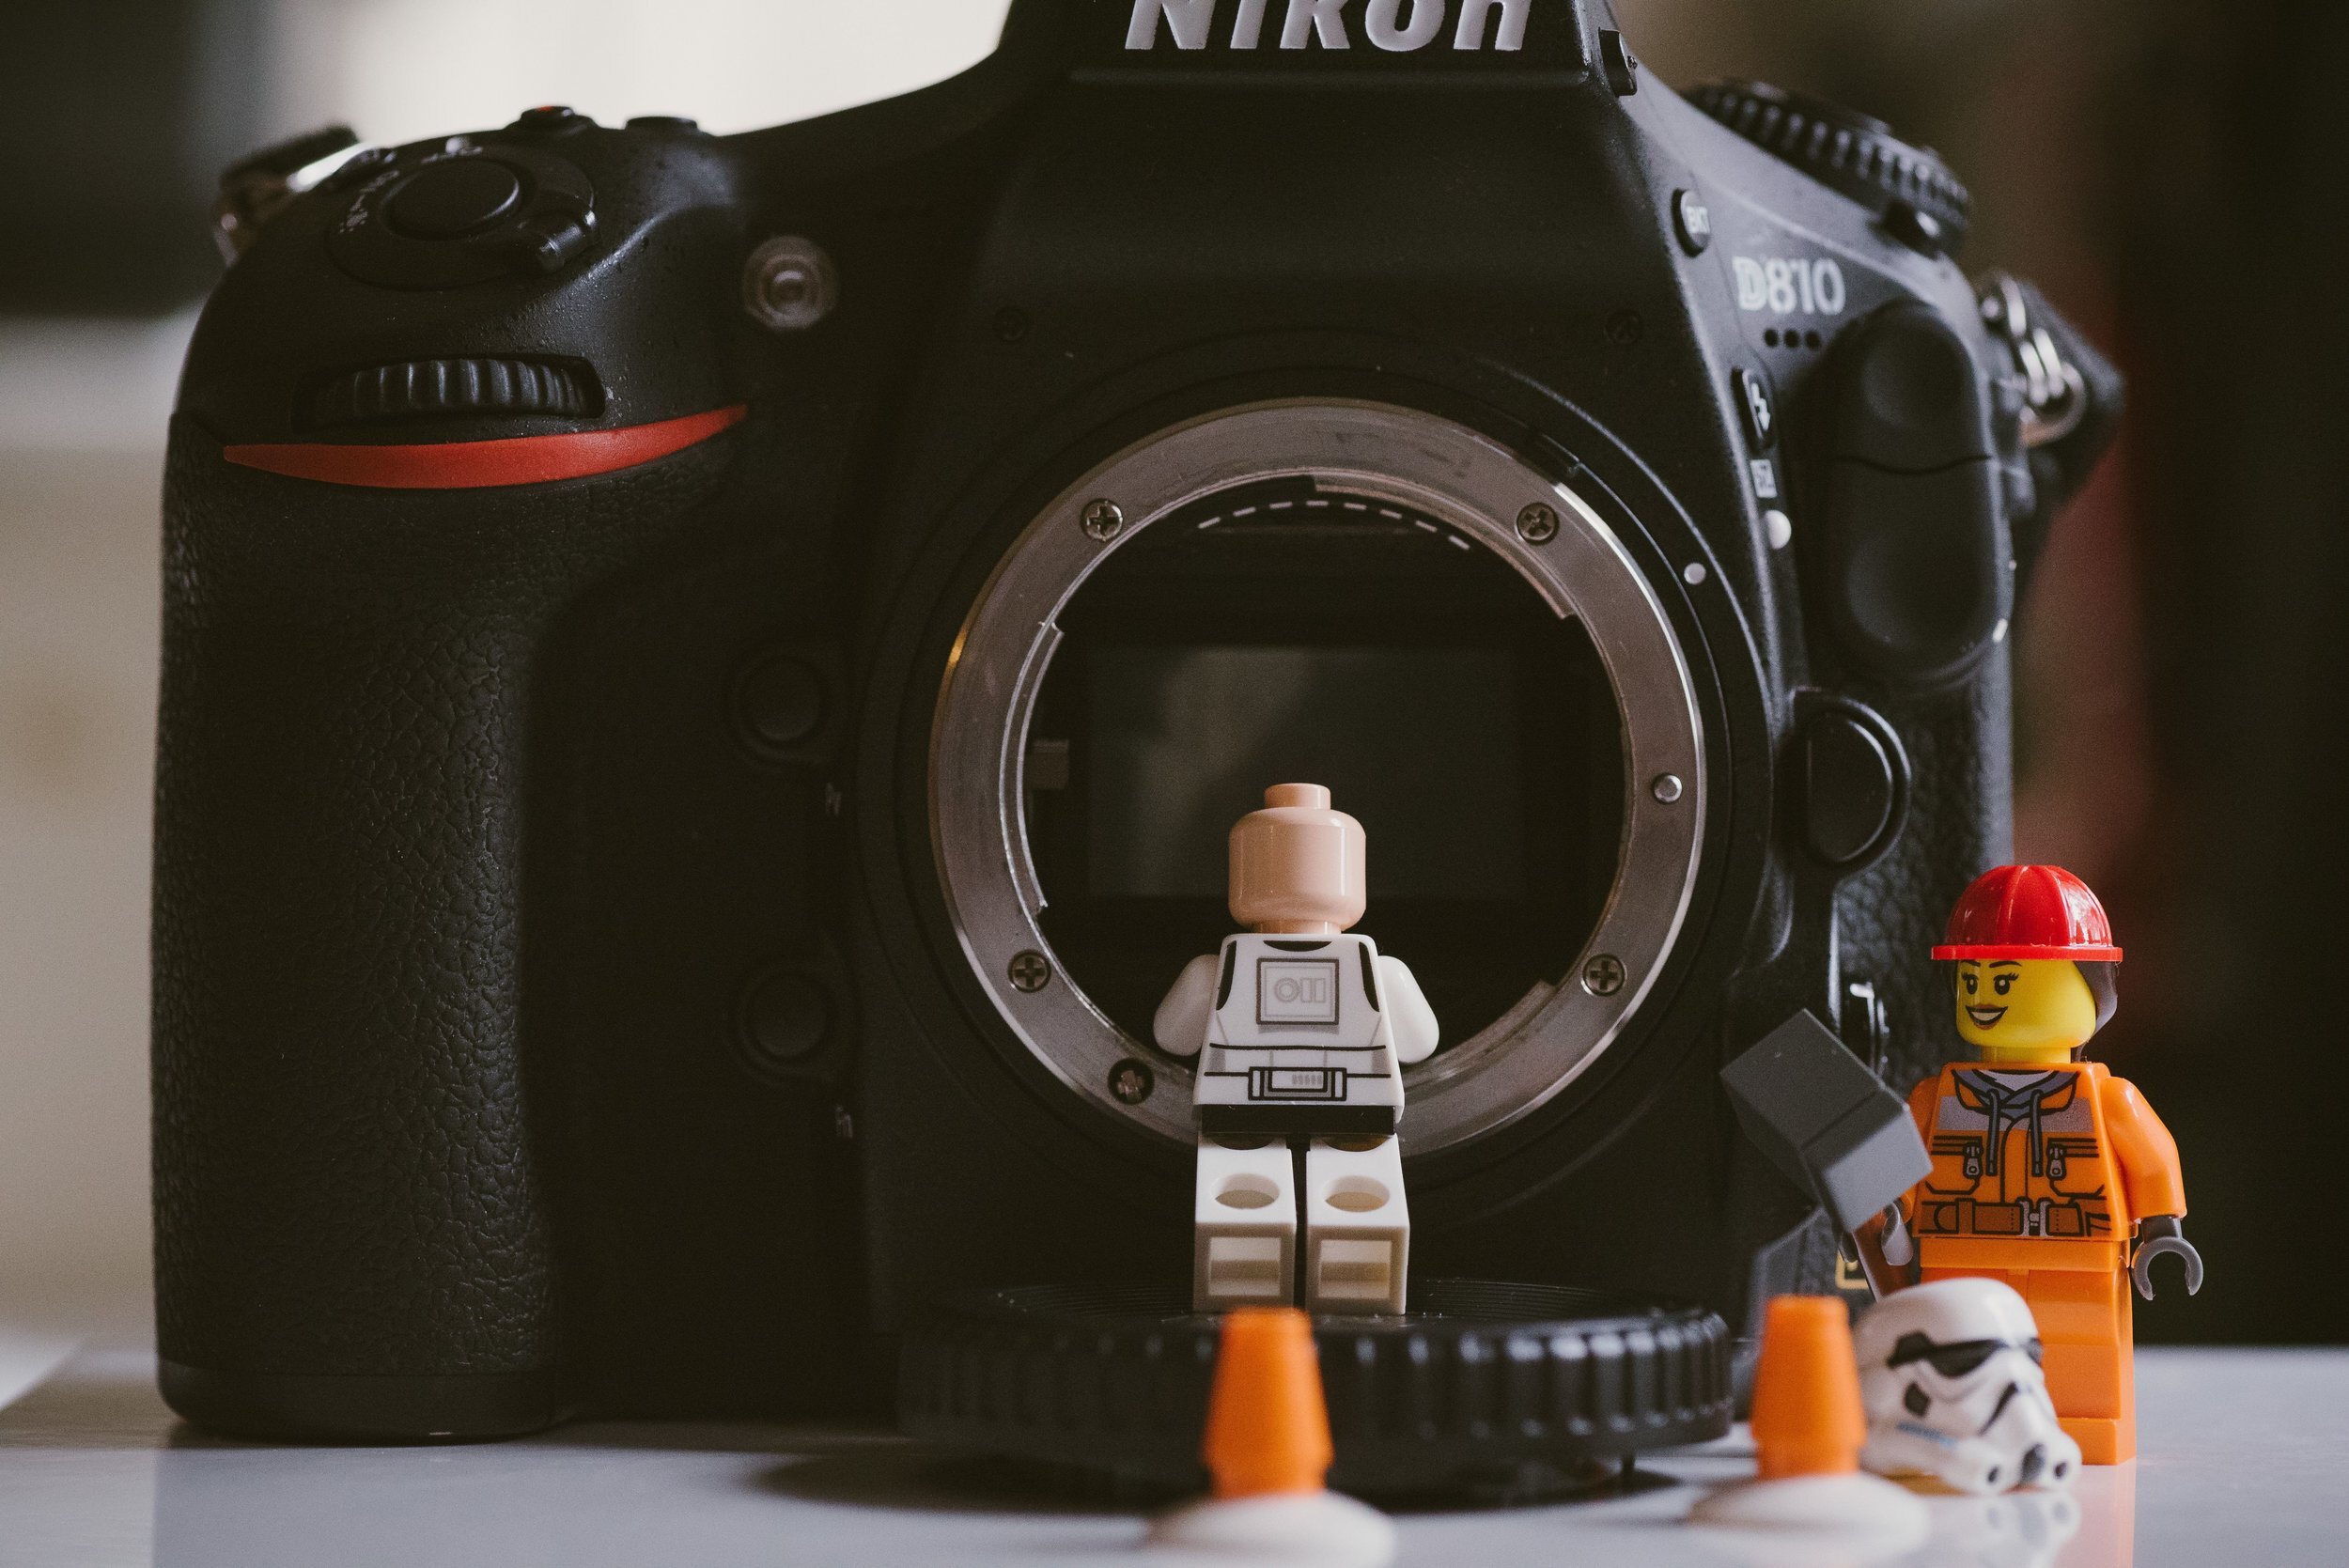
3 - Lens Mount
Test a few different lenses to make sure the lens mount can accommodate your gear without any strange noises or friction. Of course make sure the lenses you're using are compatible with the make and model of the camera.
4 - Shutter Operates Smoothly
Take a few photos at varying shutter speeds. Ensure that the camera appears to behave smoothly and that you hear no strange noises.
5 - Shutter Count
A camera that is well-taken care of will usually outlast it's manufacturers recommended shutter count. That being said, find the shutter count of the DSLR in settings. Varying cameras have various ways to check this. Research the recommended shutter count for that particular model and make sure you are not buying a camera at an unfair price as it approaches the end of its life span.
6 - LCD Screen
Inspect the physical condition of the LCD screen, look for any scratches or screen blemishes. Additionally, watch out for dead pixels. These are pixels that are unresponsive, do not emanate light, or are stuck as 1 color of the RGB spectrum. This should be revealed in your pure black and pure white photos when testing the image sensor or a lens.
7 - Live View
Test the camera's live view to ensure that the LCD is responsive and displays your images appropriately.
8 - Push the Buttons
Press every single button to ensure all buttons are responsive and in good working condition.

9 - Testing Hot Shoe Mount
The hot shoe of any DSLR is the mount on the top that connects to an external flash. If this is an important process to your image making, test the connection by attaching an external flash and testing to see if the light is triggered by the shutter release in flash mode.
10 - Inspect Viewfinder
Make sure the Viewfinder is free from damage, cracks, hazing, fungus. Ultimately this will not affect image quality, but it will be an inconvenience for the photographer to frame and compose their shots.
11 - Diopter Meter
Make sure the diopter meter is in good working condition. This is the small click wheel that is close to the viewfinder and allows the user to focus the viewfinder.
12 - Inspect Camera Accessories
Check all the accessories that come with the Camera, which includes the strap, batteries, cables, and charger. Make sure they all appear to be in good working order.
13 - Image Sensor Scratches
The most sensitive part of the camera is the image sensor. If the sensor appears to be broken, scratched, marked, scuffed, or any blemishes appear, you SHOULD NOT purchase the DSLR. Go into the camera settings and lock the image sensor for cleaning so that you can visually inspect it. You can also take a test shot against a white and/or black background and inspect the photo. If the image sensor is damaged you will be able to spot irregularities in the image.
14 - Test the Software
Go through various menu items in the camera and test anything you can find. Sensor cleaning, intervalometer, image playback, etc. Just click around and make sure everything seems to be in working order!
15 - Video Mode
Test the video mode to ensure it records stable video! Use the playback and watch a few clips.
Final Words on Used Camera Gear
There are so many features, dimensions, and technical details to check before investing in used gear. While both these lists may not include everything, it's definitely a great place to start. If possible, buy used equipment from someone credible. Buy used gear from photographers who are easy to do a background check on. Bring a friend with you if you're meeting a stranger. (Bonus if they're savvy with cameras!) Most importantly, stay safe, don't get ripped off, and have fun exploring!
Thank you to our Framework Films Contributor, Rohan, for providing this post’s outline. These topics were fully written and explained in collaboration with Mike Lindle and Framework Films.
Share this guide with your friends or anyone you think may find this useful.
If you enjoyed this article, feel free to check out our Aerial and Timelapse YouTube Channel!